
How to Print Extra Large Hollow Letters from a Word Document
One of the most frustrating aspects of developing attractive bulletin boards is finding just the right letters to make the board special. Yes, most schools do offer die-cut machines, but you are limited to just a few fonts and sizes. I work in a youth detention facility, so my resources are limited and there are no die-cut machines unless I go to the local school system's resource center.
One technique I use is to print my captions from a word document in an extra-large font. Here are the steps I use:
Step 1:
I open a new document and type my caption using the default font and size. This way I can see my typing and make any edits before I super-size the letters.
Step 2:
In my top menu, I click on select all. This will highlight every letter in my caption so that the steps I do after this will apply to every letter.
Step 3:
Choose the outline function from the top menu

Step 4:
I use the drop down menus to get to the line size function. This is controlled by point values. I usually increase it to 10 so that my line is thick enough to use as a cutting guide. Click on outline, then weight, then more lines, then width, use up arrow to get to 10 pt.

Step 5:
While in this box, change the color of the outline from the default of blue to black.

I usually get rid of the shadow effect since I plan to cut out the letters. To do this, I go up to the shadow icon in this same box. When I click on it, another drop-down menu comes up. I slide all the choices to the left to get rid of the shadow.

Step 7:
The next thing I do is select my font and size. I Make sure I still have "select all" in effect so that it changes every letter in my caption. In order to get one letter per page, I choose a size between 450 and 500. The drop-down menu only goes to 72, BUT I can highlight the numbers in the box and type in larger sizes up to 999. Once I have selected this, I scroll through my caption pages adding spaces where needed so that each letter is on its own page. CAUTION - the letters M and W are very wide and in some fonts, I reduce their size to about 50 points less than the other letters to make them fit.

Step 8:
I change my margins. Go to Layout in the menu bar. click on margins, choose narrow margins. I usually print my letters using the portrait layout.
Step 9:
I Print my letters. They should be hollow as long as the center shows white in my font. This allows me to express a lot of creativity.
Below are some ideas to try:
 |
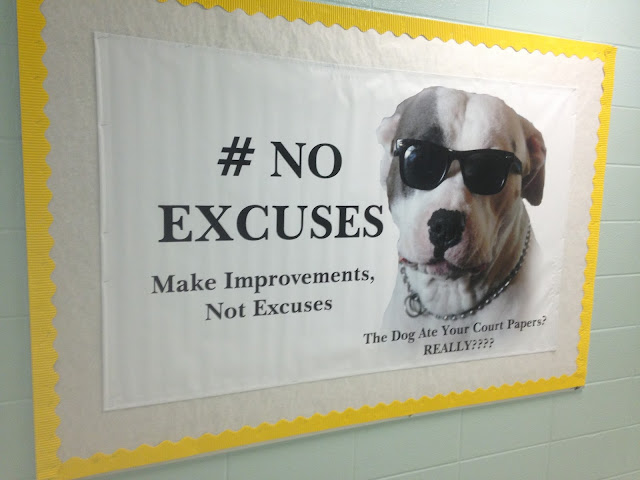
| Before Cutting Out |
- Print them on adult coloring pages and have your students color them in before you cut them out.
- Print them on colored paper or tag-board.
- Print them on pages torn out of an old dictionary or other worn-out book
- Cut to the size of copy paper or color-copy magazine pages, old maps, or wall paper remnants and print your letters on them.
- Print them on sheet music, newspaper, restaurant menus, etc.
- Make a collage of ticket stubs, photos, and memorabilia by laying the items on the window of the copy machine and making a copy. Use the copy to print your letters.
 |
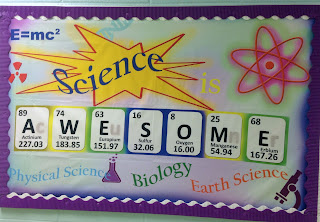
| After Cutting Out |
What tips and tricks do you have for making your own large-size letters without a die-cut machine?
Share your ideas, we would love to heart them!
Comments
Post a Comment